Mobile Apps (BYOD and MFA)
Roger Williams University policy for connecting a personal device to its O365 Outlook email system typically requires installation of three software modules:
1) Outlook Email Application
App overview: this application enables your personal device to send and receive emails associated with your @rwu.edu account.
Follow these online instructions to set up Outlook App on your device for the first time:
• Android Devices
• iOS Devices
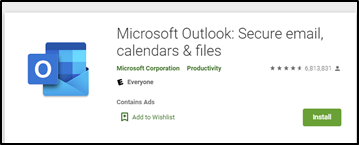
Google Play Store (Android devices)
https://play.google.com/store/apps/details?id=com.microsoft.office.outlook
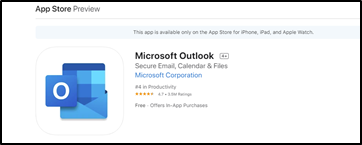
Apple App Store (Apple devices)
https://apps.apple.com/us/app/microsoft-outlook/id951937596
2) Intune Company Portal Application
App overview: this application enables your personal device to comply with RWU’s BYOD Security Policy.
1. Visit App Store: Search for Company Portal
Google Play Store (Android devices)
https://play.google.com/store?hl=en_US&gl=US
Apple App Store (Apple devices)
https://www.apple.com/app-store/
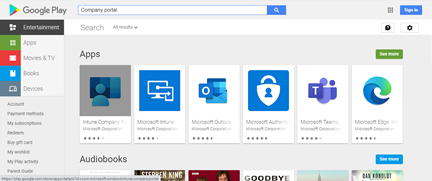
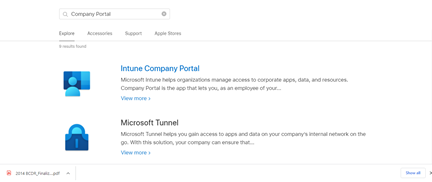
2. Select and load Microsoft “Intune Company Portal”
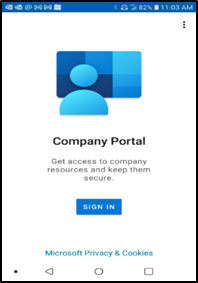
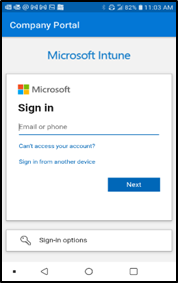
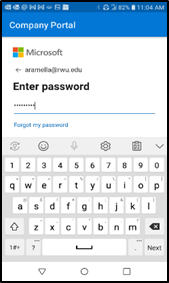
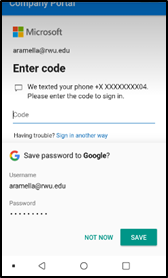
3. Log-in to Company Portal (SIGN IN)
SIGN IN
Enter RWU Email
Enter Password
Enter OTP
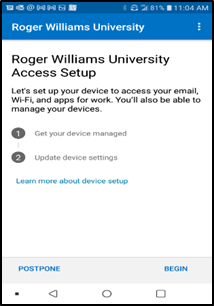
4. Set Up Device
Select (Begin)
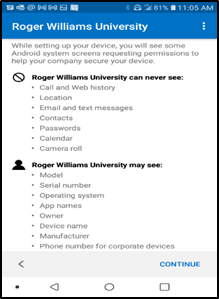
App Notice (Continue)
App Permission (Next)
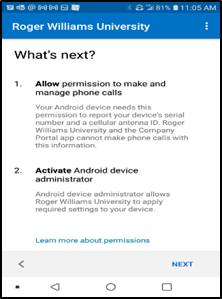
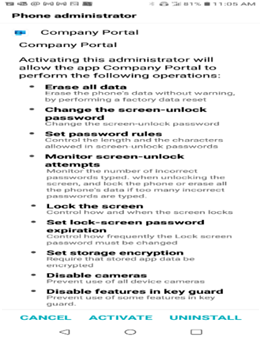
5. Activate Device
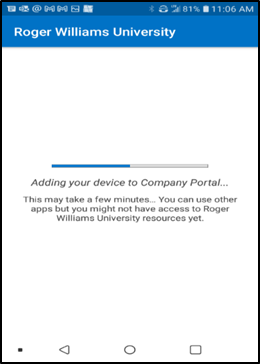
Select Activate
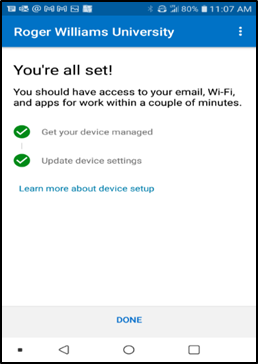
Select Done
3) Authenticator Application
App Overview:
This application enables your personal device to provide the one time passcode required for multifactor authentication [MFA]. MFA adds a second layer of authentication security on top of your standard password. The Authenticator App is an alternative to receiving 2nd factor authentication over text messages.
Installation:
1. Sign into Microsoft O365
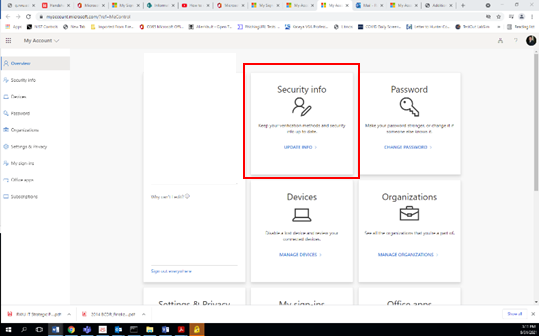
2. Select your initials (or picture) in the upper right corner; choose “View Account”
3. Select “Update Info” from the Security Info tile
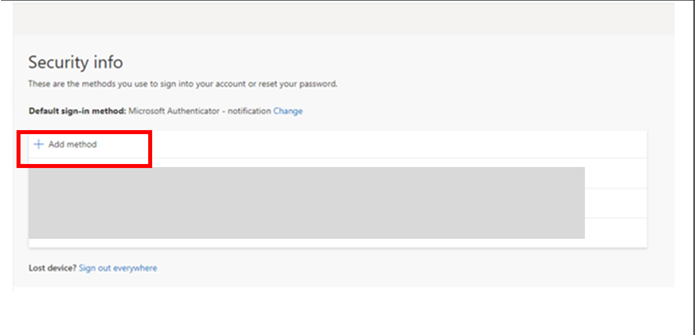
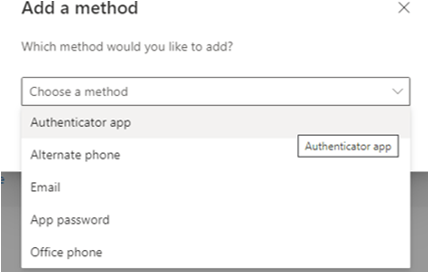
4. Select Add method; choose Authenticator App from the pull down menu
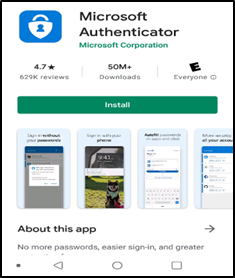
5. Install and Open Microsoft Authenticator App on your personal device.
Google Play Store (Android devices)
Apple App Store (Apple devices)
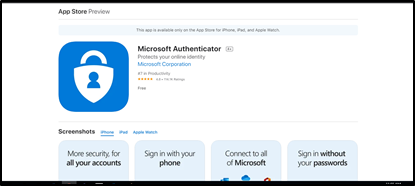
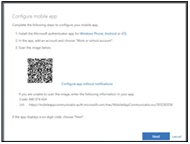
6. On your computer, select Next until you receive the QR code window (shown below). Perform this step only after Authenticator App is installed and open on your personal device.
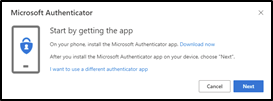
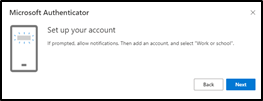
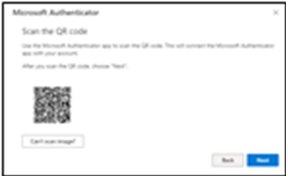
7. The QR code will need to be scanned by your personal device:
a. Open Authenticator (if it’s not already open)
b. Select the three vertical dots in the apps upper right corner, followed by Add account; choose work or school account and select the Scan a QR code option [Note: you will need to authorize Authenticator to take pictures and record video]
c. Point phone camera at QR code on computer screen to sync device with account. Note: some personal devices may add your account in Authenticator but not fully sync. If you encounter this, it can be rectified in later steps.
d. Select Next on your computer after your personal device finishes the Account Add process
8. You should receive a Microsoft Authenticator message on your computer “Let’s try it out”; Select Next
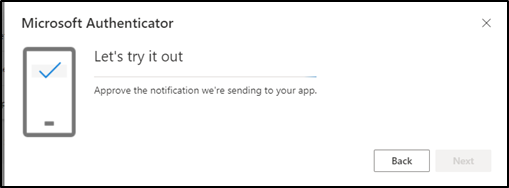
9. You should receive a message on the Authenticator App to Approve Sign-in; select Approve
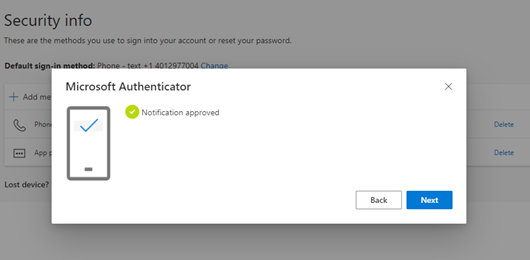
10. Your computer screen should update with a “Notification Approved”; select Next to complete the installation
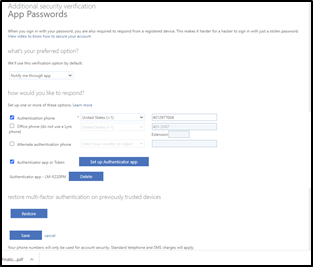
NOTE: If the Authenticator App reported any errors in Step 6, delete any instances of “Microsoft Authenticator” that appear in the Security Info section of your O365 account. Repeat steps 4, 6 and 7. If still unsuccessful, visit your Azure account and check “Authenticator app or Token” and repeat the account sync process (shown below).
